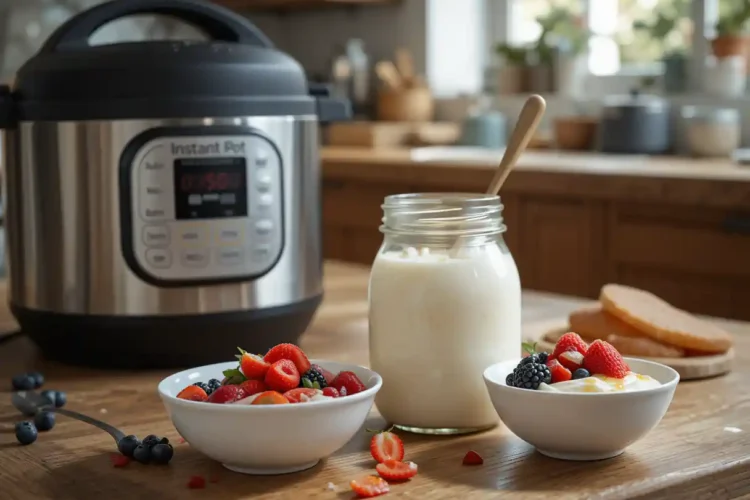
Making homemade yogurt has never been easier or more rewarding than with an Instant Pot. This simple yogurt recipe for instant pot transforms ordinary milk into creamy, probiotic-rich yogurt that’s not only healthier than store-bought versions but also significantly cheaper. With fewer additives, no artificial preservatives, and the ability to control every ingredient, homemade yogurt delivers superior taste and nutrition. The natural probiotics support digestive health, while the easy process makes it perfect for beginners. This comprehensive guide will walk you through each step, ensuring you create perfect yogurt every single time.
Why Make Yogurt in an Instant Pot?
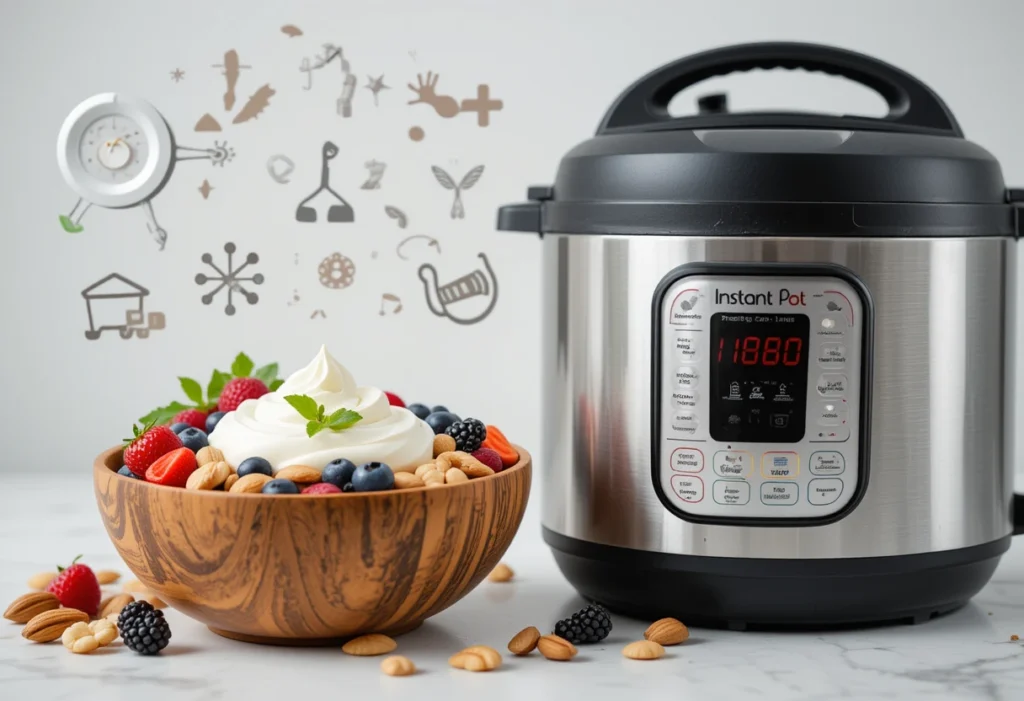
Creating yogurt at home offers remarkable health benefits that extend far beyond taste. According to nutritionists, homemade yogurt contains live, active cultures that support digestive health and boost immune function. These probiotics help maintain healthy gut bacteria, improve lactose digestion, and may even enhance mood through the gut-brain connection. Medical research published by the American Journal of Clinical Nutrition confirms that regular consumption of probiotic-rich foods like yogurt can reduce inflammation and support overall wellness.
From a financial perspective, making yogurt at home saves substantial money. A gallon of milk typically costs $3-4, producing nearly eight cups of yogurt—equivalent to purchasing 6-8 individual containers that would cost $8-12 at the store. Over a year, this instant pot recipe for yogurt can save families hundreds of dollars while providing fresher, more nutritious options.
The Instant Pot’s precise temperature control and hands-off approach make yogurt-making foolproof, eliminating the guesswork that traditional methods require.
Ingredients You Will Need For Making Yogurt
The beauty of homemade yogurt lies in its simplicity. You need just two essential ingredients:
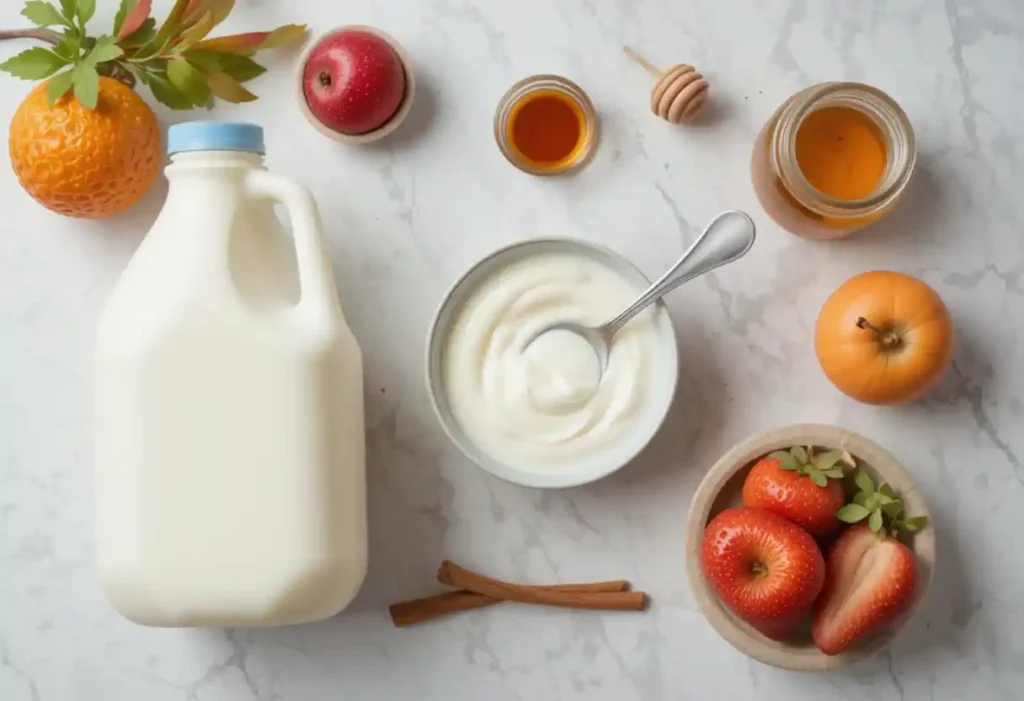
Main Ingredients:
- 1 gallon whole milk (or your preferred fat content)
- 1/4 cup plain yogurt with active cultures (or yogurt starter)
Optional Flavor Enhancements:
- Natural sweeteners: raw honey, pure maple syrup, or stevia
- Vanilla extract or vanilla bean paste
- Ground cinnamon or other warm spices
- Fresh or frozen fruits for mixing in after preparation
Quality Matters: Choose organic, hormone-free milk when possible, and ensure your yogurt starter contains live, active cultures. Check the label for strains like Lactobacillus bulgaricus and Streptococcus thermophilus. High-quality ingredients directly impact the final product’s taste, texture, and nutritional value, meeting the standards health-conscious families expect.
For this recipe for instant pot yogurt, freshness is crucial—use milk well before its expiration date and yogurt starter that’s no more than a week old for optimal results.
Step-by-Step Yogurt Recipe for Instant Pot
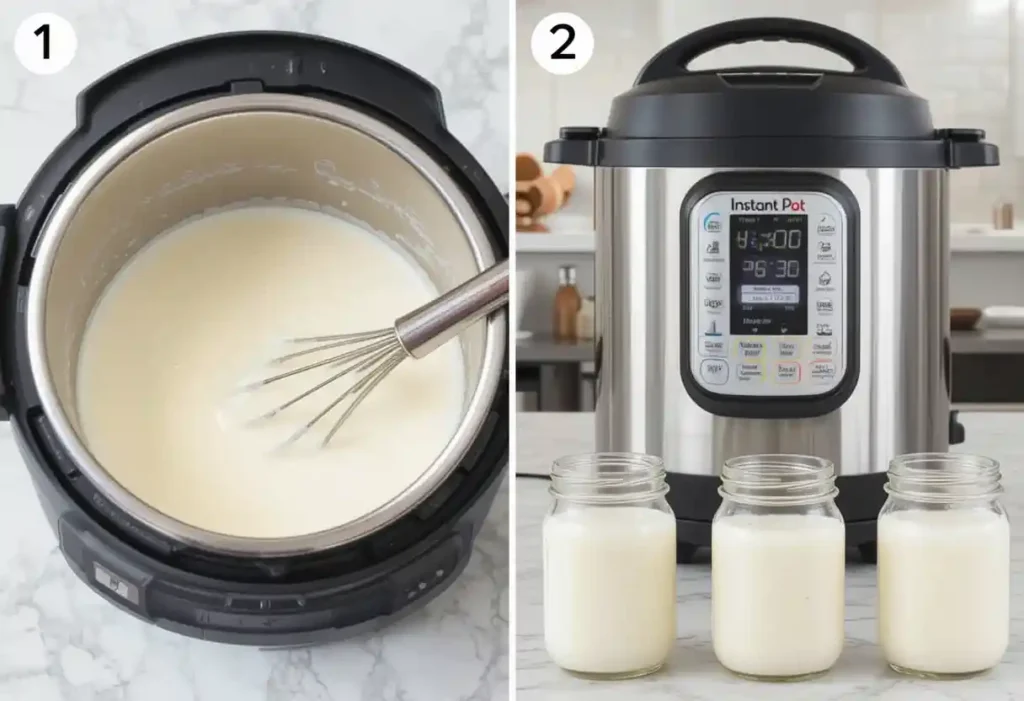
Step 1: Heat the Milk Pour the gallon of milk into your Instant Pot’s inner pot. Secure the lid and set the valve to “sealing.” Press the “Yogurt” button, then press “Adjust” until it reads “Boil.” The Instant Pot will heat the milk to approximately 180-185°F, which takes about 25-30 minutes. This process pasteurizes the milk and denatures proteins for better texture.
Step 2: Cool the Milk Once the cycle completes, carefully remove the lid (steam will escape). Let the milk cool naturally to 110-115°F, which typically takes 45-60 minutes. Use a digital thermometer for accuracy—this temperature range is crucial for the cultures to thrive without being killed by excessive heat.
Step 3: Add Yogurt Starter Remove about one cup of the cooled milk and whisk it with the 1/4 cup yogurt starter until smooth. This tempering process prevents the cultures from shocking when added to the larger batch. Pour this mixture back into the pot and whisk gently to distribute evenly. The active cultures in your starter will multiply throughout the milk during incubation.
Step 4: Incubate in Instant Pot Replace the lid, ensuring the valve remains in “sealing” position. Press the “Yogurt” button (it should display “Normal”). The default 8-hour setting works perfectly, though you can adjust from 4-12 hours depending on desired tanginess—longer incubation creates more tart yogurt. The Instant Pot maintains the ideal 108-112°F temperature automatically.
Step 5: Chill and Store After incubation, your recipe for yogurt in instant pot is nearly complete. The yogurt will appear somewhat thin but will thicken significantly when chilled. Refrigerate for at least 4 hours before use. For Greek-style thickness, strain through cheesecloth or a fine-mesh strainer for 2-4 hours.
Tips for Perfect Yogurt Every Time

Achieving consistently perfect yogurt requires attention to key details. Milk selection significantly impacts results—whole milk produces the creamiest texture, while 2% milk works well for those preferring lower fat content. Avoid ultra-pasteurized milk, as it won’t set properly due to altered protein structures.
Temperature accuracy cannot be overstated. Invest in a reliable digital thermometer rather than guessing. Milk that’s too hot kills beneficial cultures, while milk that’s too cool won’t activate them effectively.
Common troubleshooting: If your yogurt turns out runny, it may need longer incubation time or higher fat content milk. Grainy texture usually results from overheating during the initial boiling phase. Always allow gradual cooling rather than rushing the process with ice baths.
Starter freshness matters tremendously. After your first successful batch, reserve 1/4 cup as starter for your next batch—this can continue for 4-5 generations before you’ll need store-bought starter again.
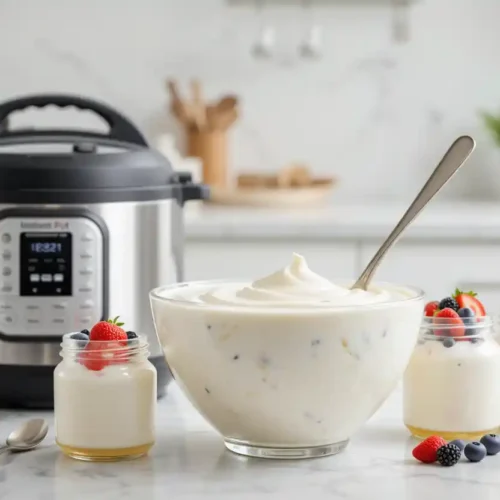
Serving Ideas & Flavor Additions

Fresh homemade yogurt serves as a versatile base for countless culinary creations. For sweet applications, swirl in honey and cinnamon, layer with fresh berries and granola for parfaits, or blend with frozen fruit for smoothies. Children love yogurt mixed with a touch of vanilla and colorful fruit pieces.
Savory applications showcase yogurt’s versatility beyond breakfast. Use it as a base for cucumber dill dip, tandoori marinades, or creamy salad dressings. Greek-style strained yogurt works excellently in Mediterranean dishes, while regular consistency blends beautifully into pancake and muffin batters.
Creative combinations might include lavender honey yogurt, chai-spiced versions with cardamom and ginger, or seasonal fruit swirls using pureed strawberries or peach preserves. The possibilities are endless when you control the ingredients.
Storage & Shelf Life For Yogurt Recipe
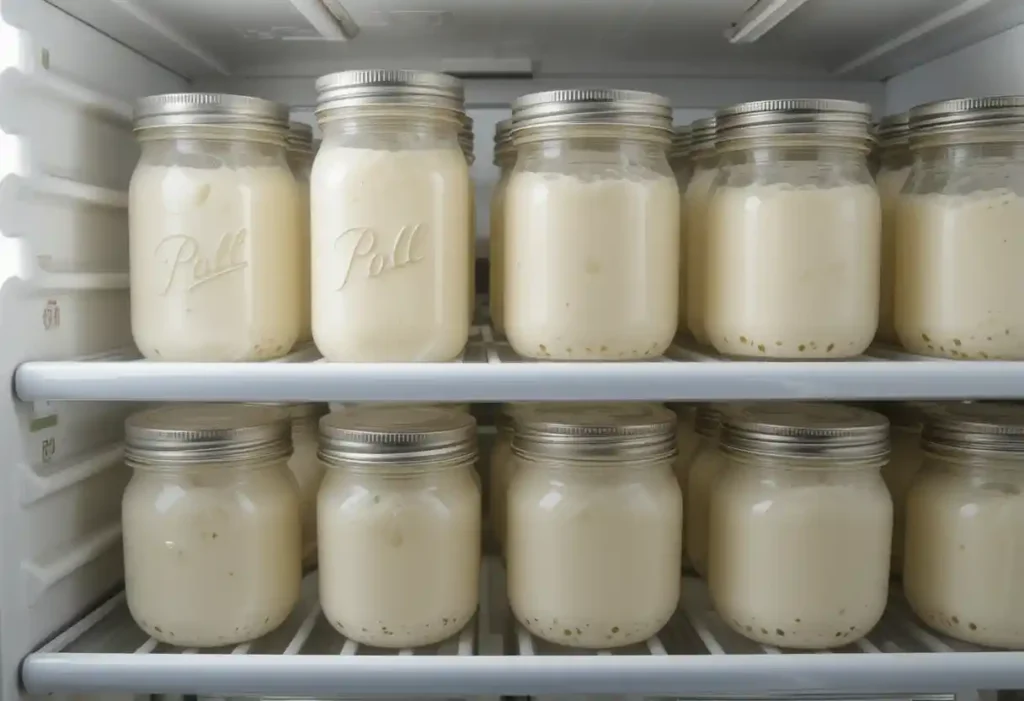
Properly stored Instant Pot yogurt maintains freshness for 7-10 days in the refrigerator, significantly longer than most store-bought varieties. Use glass jars or BPA-free plastic containers with tight-fitting lids to prevent absorption of refrigerator odors.
Storage containers should be completely clean and dry before use. Mason jars work exceptionally well, as they’re non-reactive and allow easy portion control. Avoid metal containers, which can react with yogurt’s natural acidity.
Safety indicators: Fresh yogurt maintains a clean, slightly tangy aroma. Discard if you notice any off odors, mold growth, or unusual separation. When in doubt, trust your senses—spoiled yogurt is unmistakable.
FAQs About Instant Pot Yogurt
Can I use almond or oat milk?
Plant-based milks work but require modifications. Add 2-3 tablespoons of thickening agents like agar powder or tapioca starch, and ensure your plant milk contains minimal additives. Results will differ in texture and tanginess from dairy versions.
Do I always need a starter?
Yes, active cultures are essential for fermentation. You can use previous homemade batches, store-bought plain yogurt with live cultures, or freeze-dried starter cultures from health food stores.
Can I freeze yogurt?
While safe, freezing changes yogurt’s texture, making it somewhat grainy when thawed. Frozen yogurt works best in smoothies or cooking applications rather than eating plain.
How to fix watery yogurt?
Strain through cheesecloth for 2-4 hours, or add powdered milk before incubation next time. Ensure proper temperatures during heating and cooling phases for best results.
Conclusion
This comprehensive yogurt recipe for instant pot demonstrates how simple, healthy eating can fit seamlessly into busy lifestyles. With minimal ingredients, straightforward steps, and incredible versatility, homemade yogurt offers superior nutrition, significant cost savings, and complete control over ingredients. The Instant Pot’s precision eliminates traditional yogurt-making challenges, making this ancient fermented food accessible to modern families.
Whether you’re seeking better digestive health, reducing grocery expenses, or simply enjoying the satisfaction of homemade goodness, this foolproof method delivers consistent results every time. Start your yogurt-making journey today—your taste buds, health, and wallet will thank you for this simple yet transformative kitchen skill that keeps giving back with every creamy, delicious batch.
Yogurt Recipe for Instant Pot
Ingredients
Essential:
- 1 gallon whole milk or preferred fat content
- 1/4 cup plain yogurt with active cultures or yogurt starter
Optional (for flavor):
- 2 –3 tbsp honey or maple syrup
- 1 tsp vanilla extract
- Pinch of cinnamon or spices
- Fresh fruits for topping
Instructions
- Heat the Milk – Pour milk into Instant Pot, set to Boil until it reaches 180–185°F.
- Cool the Milk – Let cool naturally to 110–115°F.
- Add Starter – Mix 1 cup cooled milk with yogurt starter, then whisk back in.
- Incubate – Press Yogurt function, set to 8 hours (longer = tangier).
- Chill & Serve – Refrigerate for at least 4 hours. Serve plain or with toppings.