
Have you ever opened a jar of store-bought dill pickles and wished they tasted fresher, crunchier, and just a little bit better? If so, it’s time to try making them yourself! This canned dill pickle recipe will show you how easy it is to preserve perfect, crunchy, garlic-dill pickles right in your kitchen. Not only are homemade pickles delicious, but you also control every single ingredient, ensuring they are halal-friendly, free of unwanted preservatives, and packed with flavor that lasts all year long.
What Is a Canned Dill Pickle Recipe?
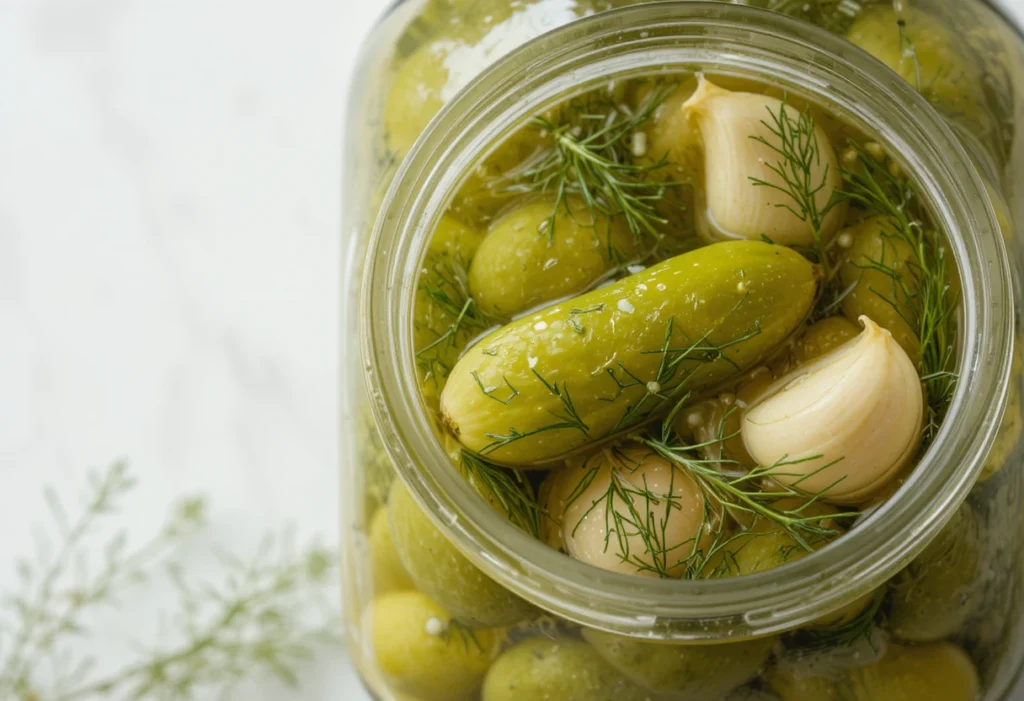
A dill pickle is simply a cucumber that has been preserved in a salty, acidic liquid called a brine, flavored mostly with dill weed and garlic.
Canning is the method of sealing food in jars and heating them in boiling water. This process removes air and seals the jar, which prevents bad bacteria from growing. This is why canned food can last for a long time without needing a refrigerator.
This method of making canned dill pickle recipe is popular worldwide because it:
- Preserves Freshness: It lets you enjoy the taste of fresh cucumbers long after the growing season is over.
- Adds Flavor: The slow soaking in the brine completely transforms the cucumber’s flavor and texture.
- Is Halal-Friendly: Since you are using basic ingredients like water, vinegar, salt, and spices, you are guaranteed a product that meets halal dietary standards without any artificial additives.
Why Make Canned Dill Pickles at Home?
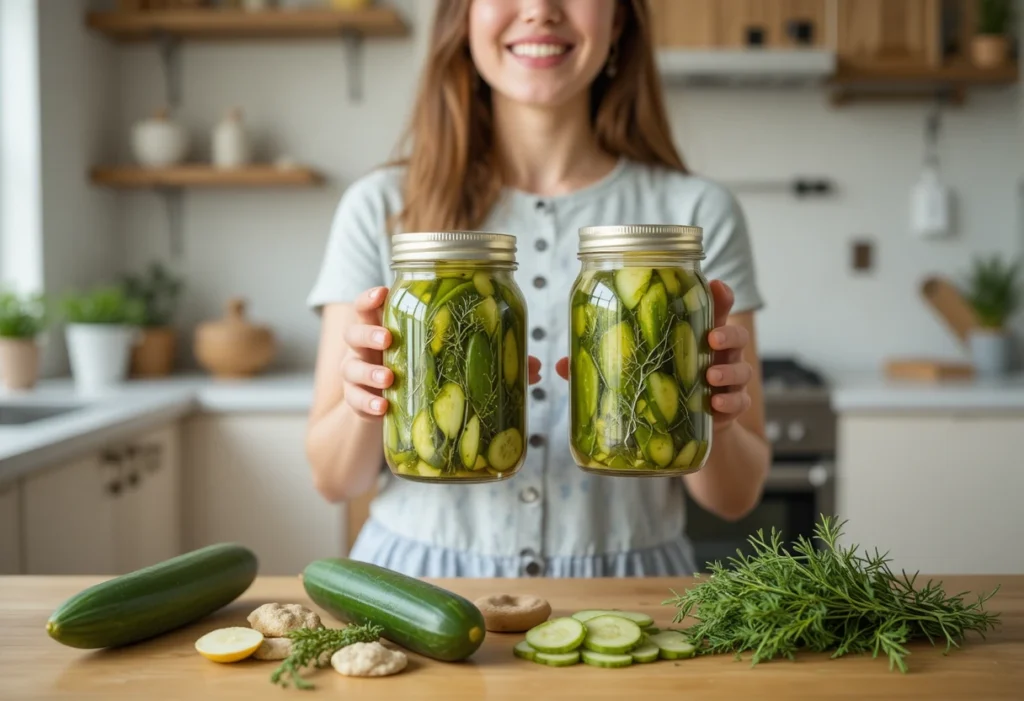
The main reason to make your own pickles is simple: they are far superior in taste and health!
- Healthier and Preservative-Free: Homemade pickles have no artificial colors or preservatives. You know exactly what’s going into your body.
- Save Money: If you buy cucumbers in season, making a big batch of pickles at home is much cheaper than buying multiple jars from the store.
- Customize Flavors: Want more garlic? Want less salt? When you follow this canned dill pickle recipe, you can adjust the herbs and spices to your exact preference.
- Control Ingredients: You select fresh, high-quality cucumbers and ensure all spices, vinegar, and salt are exactly as you want them, giving you complete peace of mind.
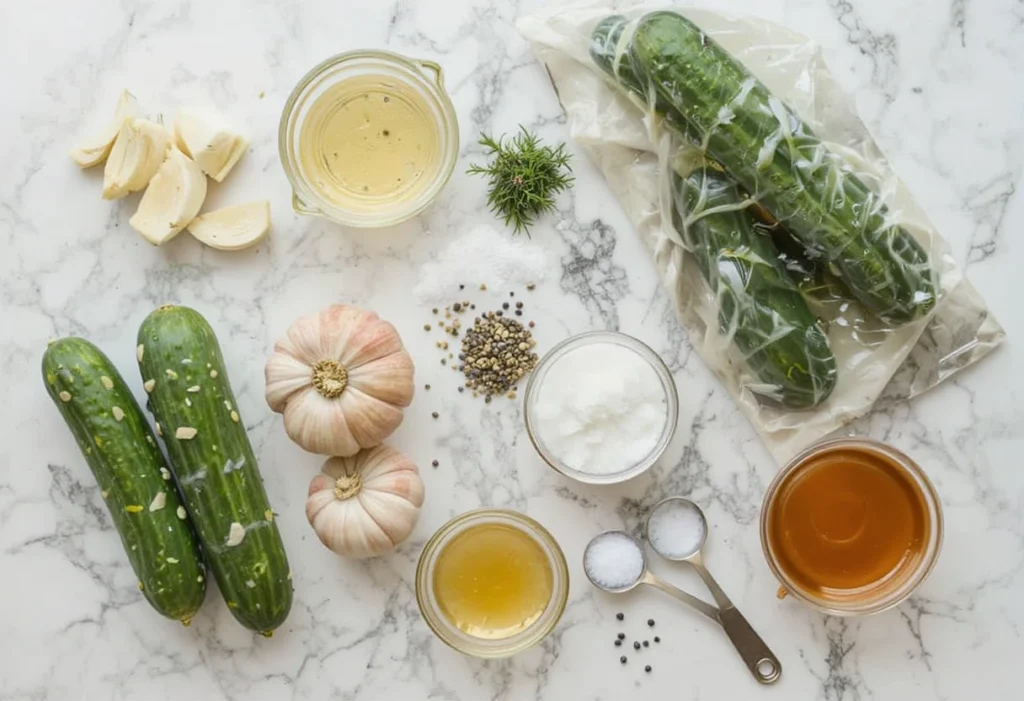
Ingredients You Need for Canned Dill Pickles Recipe
This recipe is designed for a standard batch, usually filling three to four pint-sized jars.
| Ingredient | Quantity | Purpose |
|---|---|---|
| Pickling Cucumbers | 3 pounds | Must be small and firm. |
| Water | 2 cups | Base for the brine. |
| White Vinegar | 121 cups | Provides the acid needed for pickling and safety. |
| Pickling Salt | 2 tablespoons | Essential for a clear brine; do not use table salt. |
| Sugar | 1 tablespoon | Balances the acidity. |
| Dill Seeds | 4 teaspoons | The classic dill flavor. |
| Mustard Seeds | 2 teaspoons | Adds a slightly sharp, savory flavor. |
| Garlic Cloves | 4 cloves | Freshly peeled. |
| Black Peppercorns | 16 whole | Adds mild spice and aroma. |
Optional Halal-Friendly Add-Ons: For extra flavor, you can add 1 teaspoon of coriander seeds and 1 bay leaf to each jar.
Step-by-Step Instructions Ingredients for Canned Dill Pickles Recipe

Canning might sound difficult, but it’s just a few easy steps.
Step 1: Prep the Cucumbers
Wash your pickling cucumbers well. Trim off the very end tips of the cucumbers (both ends). This tiny step helps the brine soak into the cucumber better, making the pickle crunchier.
Step 2: Prepare and Sterilize Jars
You need 3 to 4 pint-sized jars. This is crucial for safety! Wash the jars and lids with soap and hot water. Then, sterilize them by placing them in a pot of boiling water for at least 10 minutes. Use tongs to carefully remove them and let them dry upside down on a clean towel.
Step 3: Fill the Jars with Spices
Into each hot, sterilized jar, place:
- 1 peeled garlic clove
- 1 teaspoon of dill seeds
- 21 teaspoon of mustard seeds
- 4 black peppercorns
Now, carefully pack the prepared cucumbers tightly into the jars, standing them upright.
Step 4: Make the Brine
In a saucepan, combine the water, white vinegar, pickling salt, and sugar. Bring the mixture to a rolling boil over high heat. Stir until the salt and sugar are completely dissolved. This liquid is called the brine.
Step 5: Fill and Seal the Jars
Carefully pour the hot brine over the cucumbers in the jars, leaving about 21 inch of empty space at the top (this is called “headspace”). Wipe the rims of the jars clean with a damp towel, then place the lids and screw bands on until they are fingertip tight (not too tight).
Step 6: Process the Pickles Safely
Place the sealed jars into a large pot (canner) filled with boiling water, ensuring the water covers the jar tops by at least 1 inch. Bring the water back to a boil and process (boil) the jars for 10 minutes. This final step makes the pickles safe and shelf-stable.
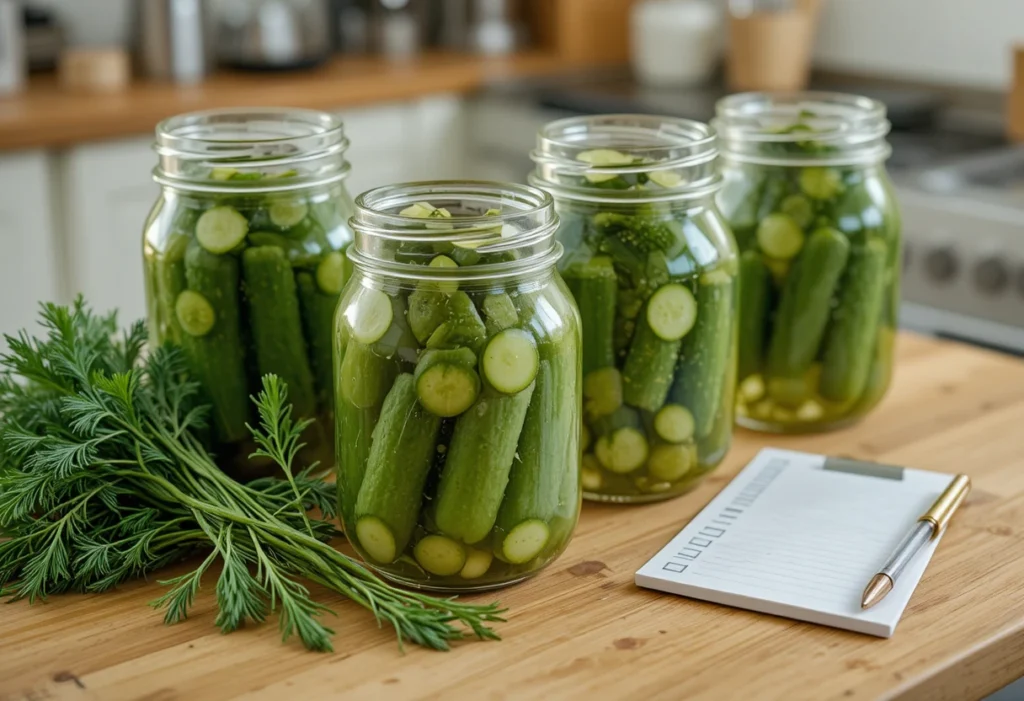
Step 7: Cool and Store
Remove the jars carefully and place them on a towel on the counter. Do not touch them or move them for 24 hours. As the jars cool, you should hear a pop—this means the seal is complete! Label the jars with the date and store them in a cool, dark place.
Tips for Best Results
- Use the Right Cucumbers: Always use small, firm pickling cucumbers. Large slicing cucumbers have too much water and will turn mushy.
- Sterilize Everything: Never skip sterilizing the jars. This process is essential for food safety and shelf stability (EEAT trust factor).
- Wait for the Flavor: Do not eat the pickles right away! For the best flavor, wait at least 4 weeks after processing. This time allows the brine to fully penetrate the cucumbers.
- Pickling Salt Only: Regular table salt contains iodine and anti-caking agents that can make your brine cloudy. Always use pickling salt for a clear, crisp brine.
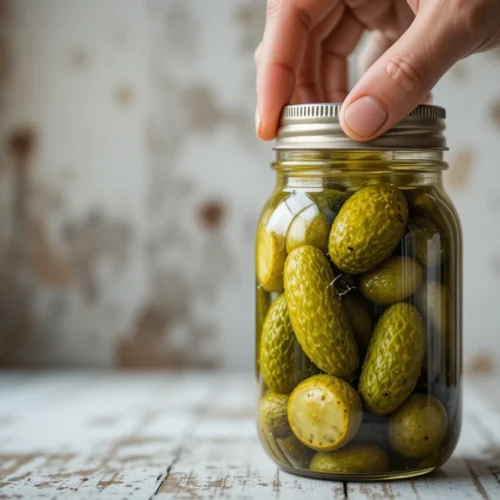
Storage and Shelf Life

Once your jars have sealed, they can be stored in a cool, dark place (like a pantry or basement) for up to 1 year. Once a jar is opened, it must be kept in the refrigerator and consumed within 2 to 3 weeks.
Serving Ideas
Homemade dill pickles are perfect for:
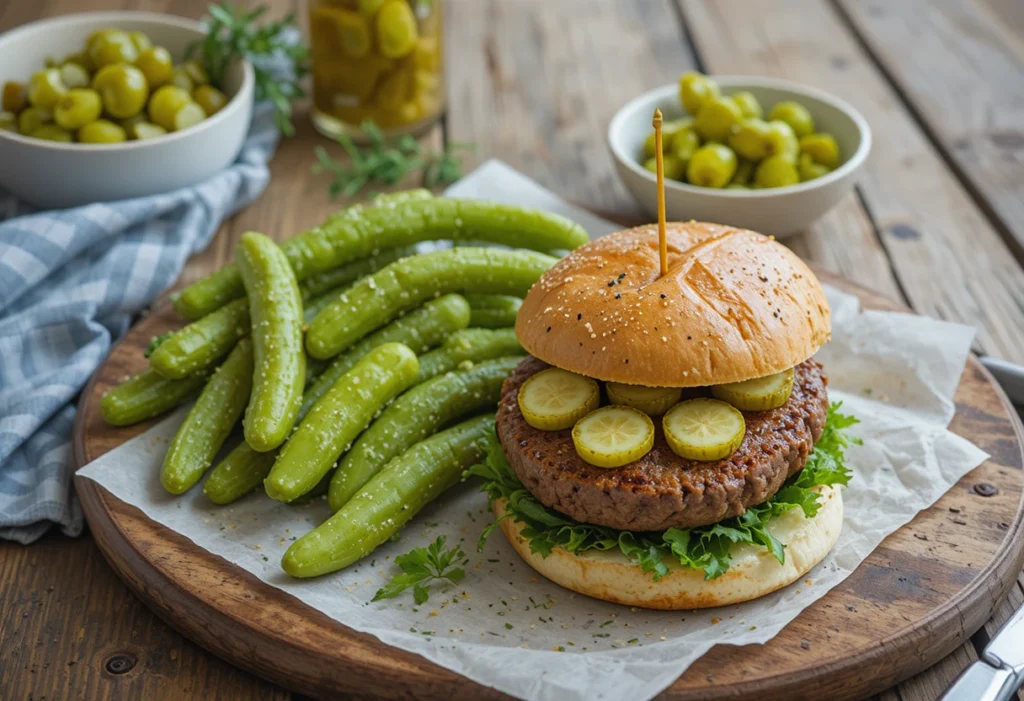
- Burgers and Sandwiches: Slice them thinly to add a tangy crunch.
- Snack Time: Enjoy them straight from the jar as a crunchy, low-calorie snack.
- Salads: Chop them up to add a tangy, salty punch to chicken salad or potato salad.
Common Mistakes to Avoid
- Using Table Salt: As mentioned, table salt creates a cloudy, less attractive brine. Stick to pickling salt.
- Not Sealing Jars Correctly: If the jar doesn’t “pop” or the lid doesn’t look concave after cooling, the seal failed. These jars must be stored in the refrigerator and eaten within 2 months.
- Using Overripe Cucumbers: Cucumbers that are yellow or soft will result in soft, soggy pickles. Use only green, very firm cucumbers.
FAQ Section (Frequently Asked Questions)
How long does it take before pickles are ready to eat?
While they are technically safe to eat after the 24-hour cooling period, they won’t taste like pickles yet. Wait at least 4 weeks for the brine to completely flavor and pickle the cucumbers.
Can I reduce sugar or skip it?
Yes, the small amount of sugar in this canned dill pickle recipe is mainly to balance the vinegar’s tartness, not for preservation. You can skip it or reduce it if you prefer a very sour pickle.
Is the homemade canned dill pickle recipe safe?
Yes, homemade pickles are very safe, provided you follow the sterilization and processing steps exactly. The high acidity of the vinegar brine prevents the growth of harmful bacteria.
Conclusion
Making your own pickles using this canned dill pickle recipe is one of the most rewarding kitchen projects. It gives you a delicious, crunchy, and perfectly seasoned snack that you can rely on all year long. Plus, you get the satisfaction of knowing you’ve made a high-quality, halal-friendly product right at home. Start your pickling adventure today!
Canned Dill Pickle Recipe
Ingredients
- 3 lbs pickling cucumbers small & firm
- 2 cups water
- 1 ½ cups white vinegar
- 2 tbsp pickling salt
- 1 tbsp sugar
- 4 tsp dill seeds
- 2 tsp mustard seeds
- 4 cloves garlic peeled
- 16 whole black peppercorns
Instructions
- Prep Cucumbers: Wash well and trim ends.
- Sterilize Jars: Boil jars and lids for 10 minutes, let dry.
- Fill Jars: Add 1 garlic clove, 1 tsp dill seeds, ½ tsp mustard seeds, and 4 peppercorns to each jar. Pack cucumbers upright.
- Make Brine: Boil water, vinegar, salt, and sugar until dissolved.
- Fill Jars with Brine: Leave ½ inch headspace. Wipe rims clean.
- Seal Jars: Place lids on and screw bands until fingertip tight.
- Process in Water Bath: Boil jars for 10 minutes (covered by at least 1 inch water).
- Cool & Store: Let sit 24 hours. Store sealed jars in a cool, dark place for up to 1 year. Refrigerate after opening.